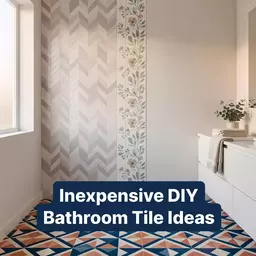
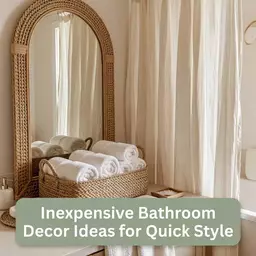
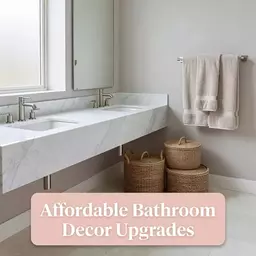
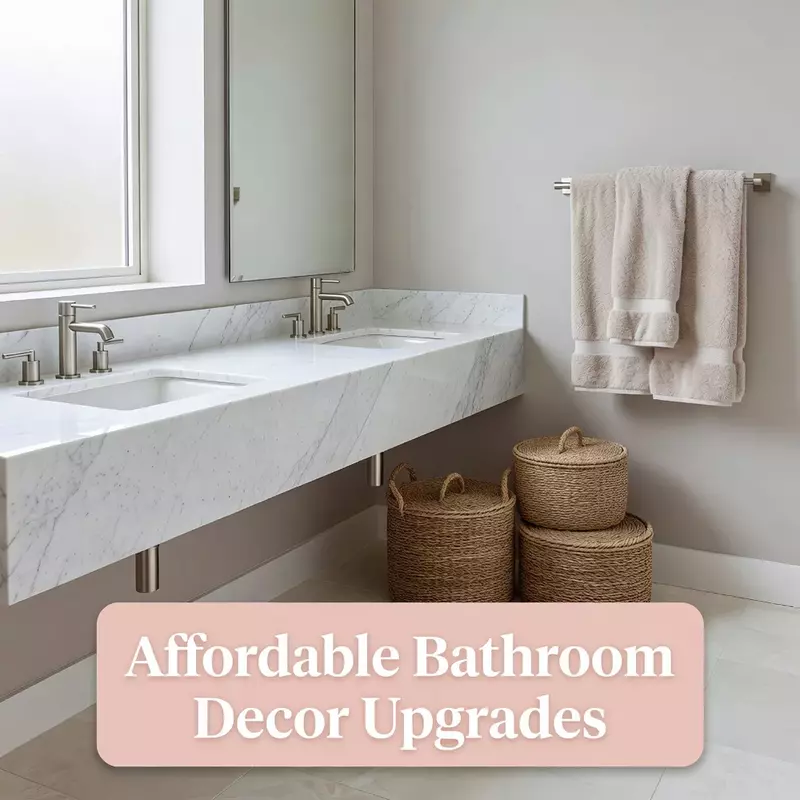
Refreshing a dated bathroom on a budget can feel overwhelming, especially when traditional tile work is both costly and time-consuming. Fortunately, there are affordable DIY ideas that can breathe new life into your space without the hassle of retiling. Let’s dive into some creative solutions that will transform your bathroom into a stylish retreat.
Bathroom Peel-and-Stick Zellige-Effect Tile Sticker Set That Covers a Plain Shower Surround
Transform your shower with easy-to-install, stylish tiles.
As an Amazon Associate I earn from qualifying purchases. Affiliate links may earn me a commission at no extra cost to you.
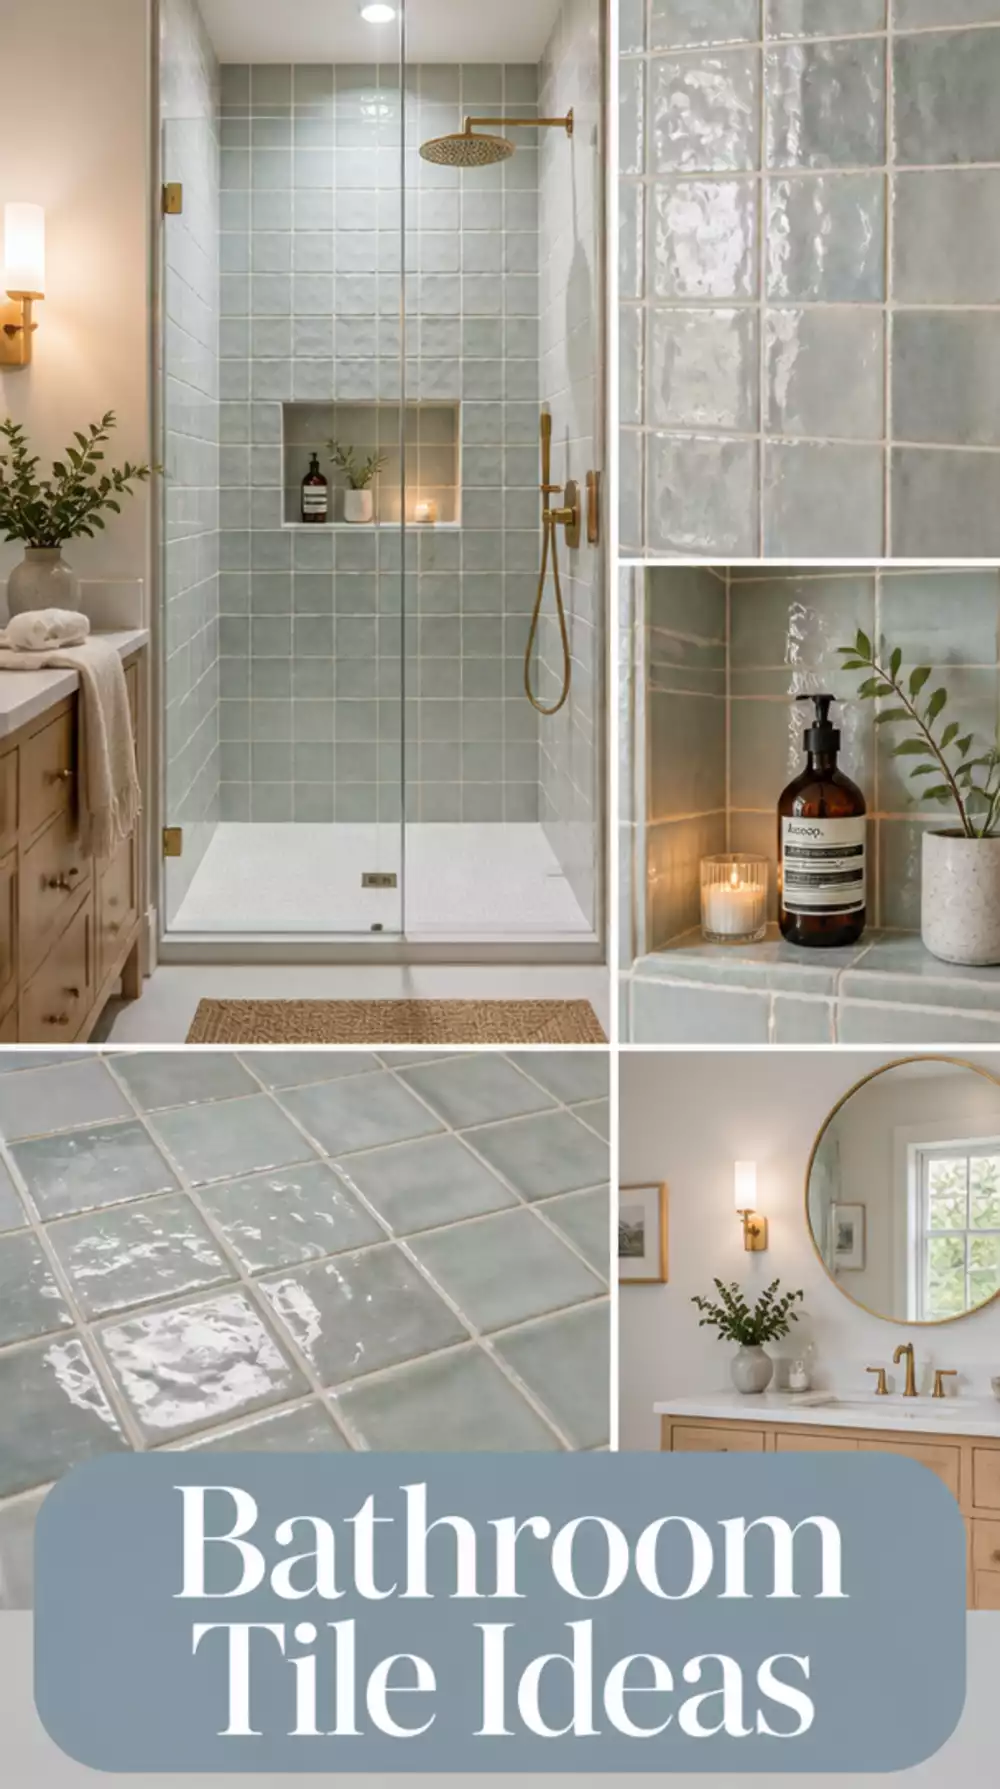
Understanding Bathroom Peel-and-Stick Zellige-Effect Tiles: Transforming a plain shower surround into a stunning statement is a breeze with peel-and-stick Zellige-effect tiles. These tiles mimic the intricate designs of authentic Moroccan Zellige, adding a luxurious touch without the hefty price tag. Plus, they’re incredibly easy to install—perfect for DIY enthusiasts looking for a quick upgrade!
A common oversight when installing these tiles is not ensuring the surface is clean and dry beforehand. A quick wipe down can make all the difference in adhesion, preventing future peeling or lifting.
- ★Ensure a clean, dry surface for better tile adhesion.
- ★Use a utility knife for precise cuts around edges and fixtures.
- ★Purchase extra packs based on your shower size for optimal coverage.
⭐ Top Products for Peel-and-Stick Tile
✨ Editor's Pick
Peel and Stick Backsplash Wallpaper
★★★★½
Our Score: 4.5/5
Transform your walls with this stylish, easy-to-install wallpaper for a quick upgrade.
View on Amazon →Removable PVC Waterproof Border Wall Decor
★★★★☆
Our Score: 4.0/5
Add a natural wood grain look to your bathroom decor with this easy-to-install border.
View on Amazon →Heavy Duty Wall Hooks with Strong Hold
★★★★☆
Our Score: 4.0/5
Use these hooks to add style and functionality without damaging your new tiles.
View on Amazon →💡 Quick Tips:
- Prep is Key: Always clean and dry your shower surface for the best adhesion.
- Measure Twice: Calculate the area to avoid buying too few or too many tile packs.
- Cut with Precision: Use a utility knife for clean edges and perfect fits around fixtures.
Bathroom Floor Tile Sticker Sheet in a Black and White Geometric That Updates Dated Flooring
Transform your bathroom with stylish and affordable geometric floor designs.
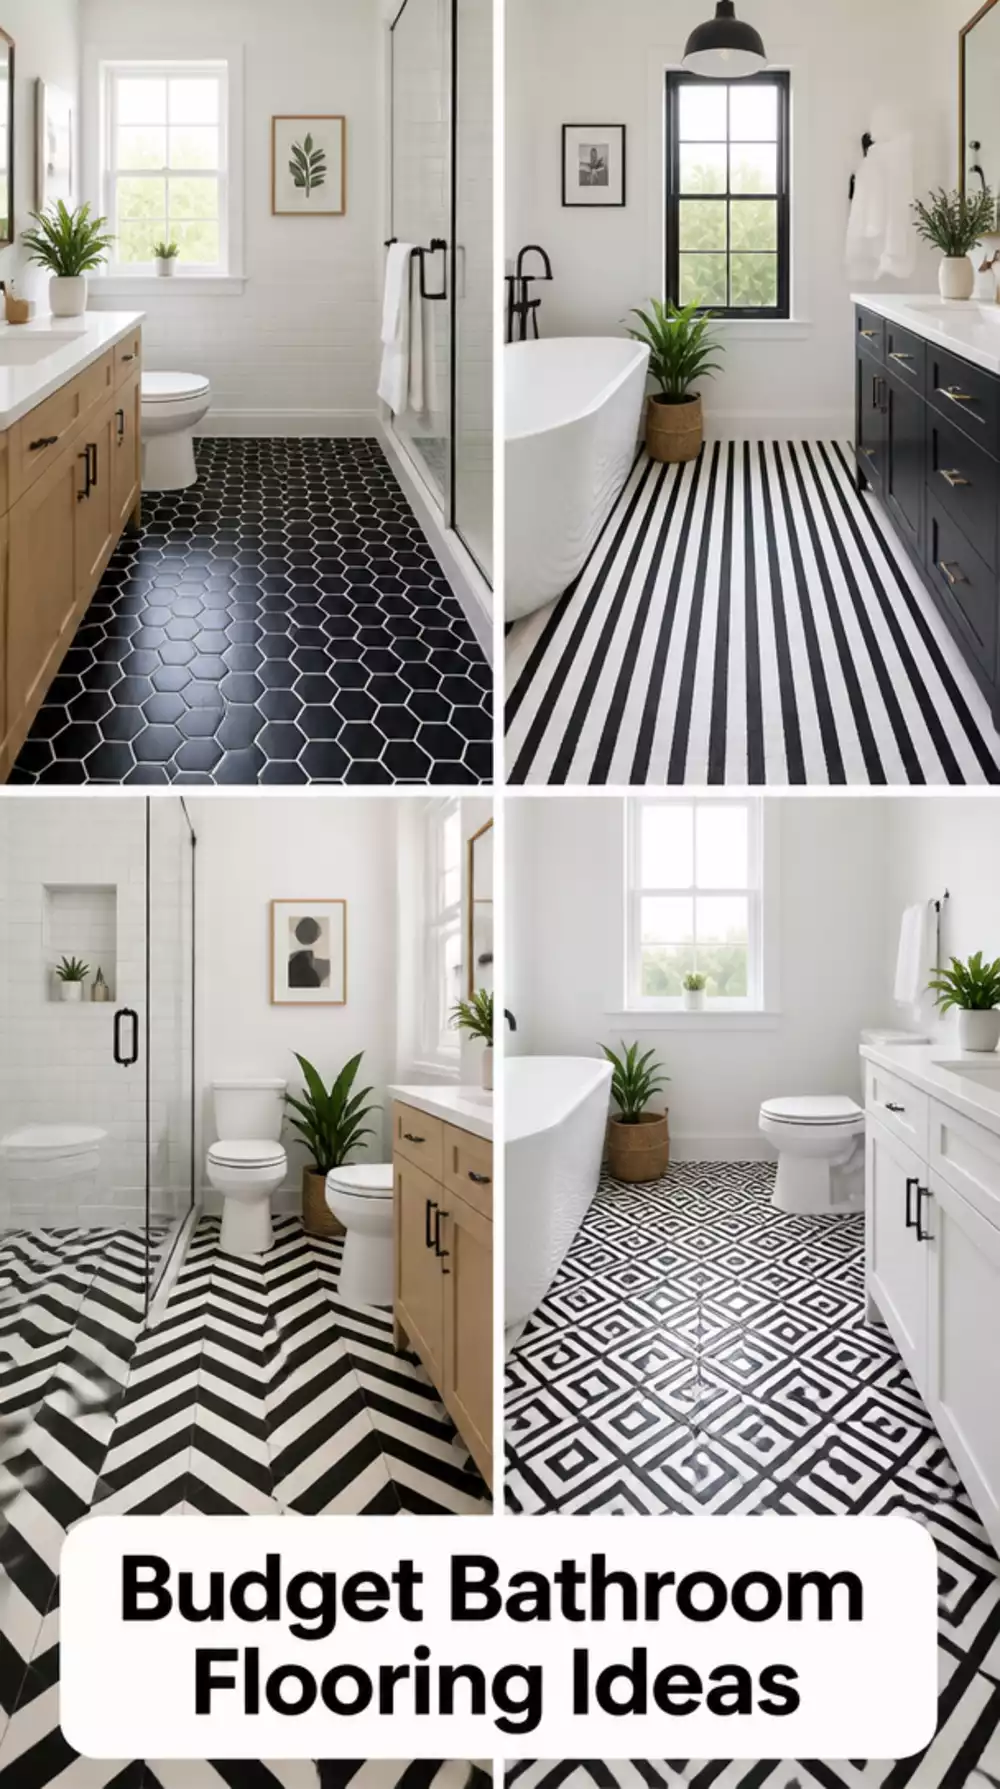
How Bathroom Floor Stickers Enhance Your Space: Updating your dated flooring can instantly transform your bathroom's aesthetic. Black and white geometric patterns are not only timeless but can make your space feel larger and more cohesive. With peel-and-stick options, you can cover worn tiles easily, creating a fresh, modern look without the expense of traditional renovations.
What People Rarely Consider is the importance of planning your layout before you start applying the stickers. Many overlook the need to measure corners and edges, leading to unsightly gaps or misalignment. Take the time to plan, and your new floor will look seamless and professionally done.
- ★Choose the right size sheets based on your bathroom dimensions for best results.
- ★Maintain a clean surface for better adhesion and longevity of the stickers.
- ★Align stickers carefully to avoid unsightly gaps and ensure a professional finish.
⭐ Best Floor Tile Stickers for Updates
Peel and Stick Floor Tiles Vinyl Wood
★★★★☆
Our Score: 4.0/5
These vinyl tiles provide a warm look while covering old floors easily and stylishly.
View on Amazon →✨ Editor's Pick
Peel and Stick Floor Tiles 36-Pack
★★★★½
Our Score: 4.5/5
This 36-pack of tiles makes updating your flooring both easy and affordable.
View on Amazon →Wood Grain Peel and Stick Floor Tiles
★★★★☆
Our Score: 4.0/5
These textured tiles offer style and safety with a non-slip surface ideal for bathrooms.
View on Amazon →💡 Quick Tips:
- Plan Your Layout: Measure your bathroom and plan the sticker placement to avoid gaps.
- Clean Thoroughly: Ensure the floor is spotless for optimal adhesion of the stickers.
- Use a Utility Knife: For precise cuts around corners, a utility knife makes all the difference.
Bathroom Grout Paint Pen in a Crisp White That Makes Old Grout Lines Look Brand New
Transform your bathroom with a quick and easy grout refresh!
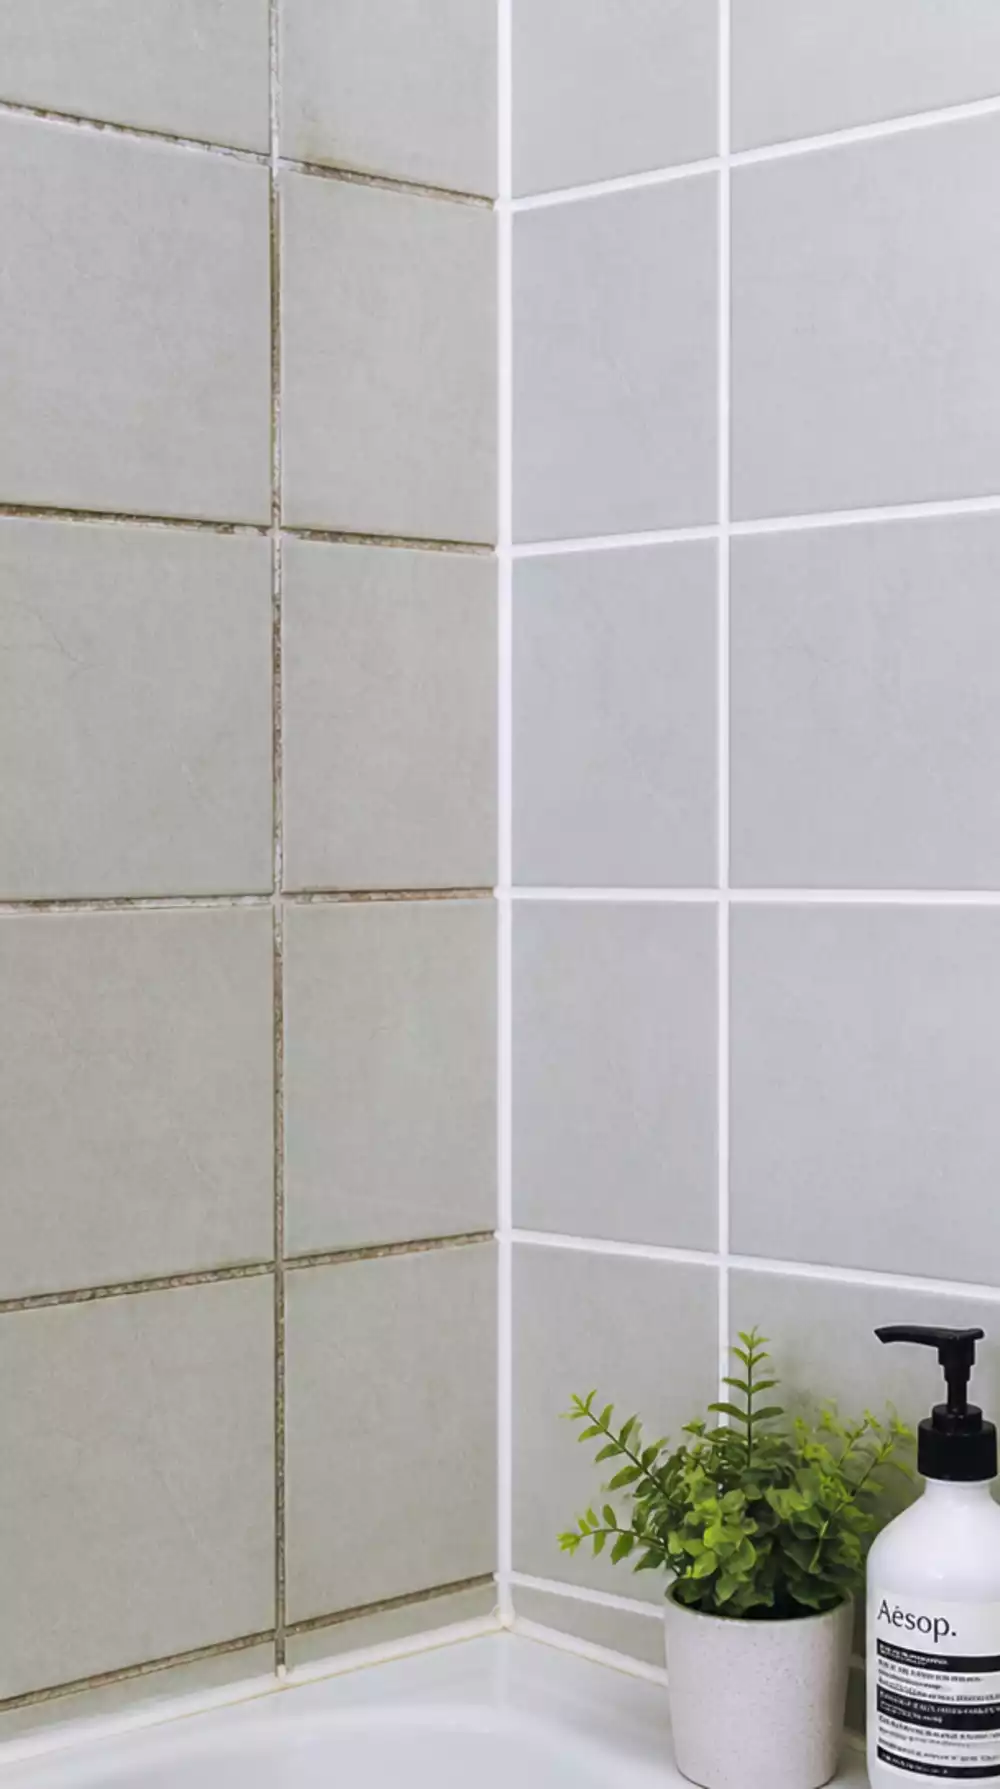
How a Grout Paint Pen Makes a Difference: Dingy grout can completely sabotage the look of your beautifully tiled surfaces. Using a grout paint pen in a crisp white not only revives old grout lines but also enhances the overall appearance of your tiles, offering a budget-friendly refresh without the hassle of re-grouting.
Where Most People Get Stuck: One common oversight is skipping a test of the grout pen on a small section first. This simple step ensures you're happy with the color match and adhesion before committing, avoiding potential mismatches in a larger area.
- ★Choose a grout pen that matches the existing grout color for a seamless finish.
- ★Clean the grout thoroughly before application to ensure the best adhesion.
- ★Avoid over-applying; a little goes a long way for a neat finish.
💡 Quick Tips:
- Test on a small area: Always try the grout pen on a hidden spot first for the best results.
- Choose the right shade: Match the pen color to your existing grout for a seamless appearance.
- Keep it clean: Clean the grout thoroughly before applying the pen for optimal adhesion.
The Bathroom Painted Tile Technique Using Specialist Floor Paint That Costs Under Twenty Dollars

Transform your bathroom tiles affordably with this painting technique.
How the Painted Tile Technique Works: Painted tiles can swiftly change your bathroom’s character without hefty expenses. Using specialist floor paint, you can achieve various finishes—whether matte or glossy—making your tiles look brand new while being highly durable against moisture and wear.
Where Most People Get Stuck is in the preparation phase, often overlooking the importance of applying a primer. This step significantly affects the paint's adhesion and longevity, ensuring that your newly painted tiles withstand the test of time. Without this crucial layer, you might end up with peeling paint, diminishing your efforts.
- ★Choose low-lustre enamel floor paint for a smooth, durable finish.
- ★Measure your tiles carefully to determine how much paint you need.
- ★Don’t skip the primer step to ensure paint adheres properly.
⭐ Top Paints for Bathroom Floors
✨ Editor's Pick
Low-Lustre Enamel Porch & Patio Floor Paint
★★★★½
Our Score: 4.5/5
This durable floor paint provides a long-lasting finish for your bathroom tiles.
View on Amazon →Epoxy Acrylic Concrete & Garage Floor Paint
★★★★☆
Our Score: 4.0/5
This paint is resistant to wear and tear, perfect for high-traffic bathroom areas.
View on Amazon →Porch & Floor Paint in Terracotta
★★★★☆
Our Score: 4.0/5
This scratch-resistant paint adds warmth and character to your bathroom surfaces.
View on Amazon →🚀 Key Steps to Follow:
- Choose a primer: Ensure you select a primer compatible with your tile material for lasting results.
- Pick complementary colors: Select paint colors that harmonize with your existing decor for a cohesive look.
- Allow adequate drying time: Let each coat of paint dry completely before applying the next to avoid smudging.
You're finding brilliant ways to refresh your bathroom without the hefty price tag or hassle of retiling. Taking creative action, even in small ways, really shifts the entire feel of your space. These transformations are about sustainable updates, not striving for unattainable perfection.
💡 Keep This in Mind:
- Choose paint colors that complement existing decor for a cohesive feel.
- Measure your space accurately before ordering products to avoid waste, especially for flooring ideas.
- Clean surfaces thoroughly before any application for best adhesion and longevity.
- Consider your bathroom's moisture levels when selecting materials for bathroom upgrades.
Bathroom Peel-and-Stick Feature Tile Panel Behind the Bath That Creates a Spa Wet-Room Look
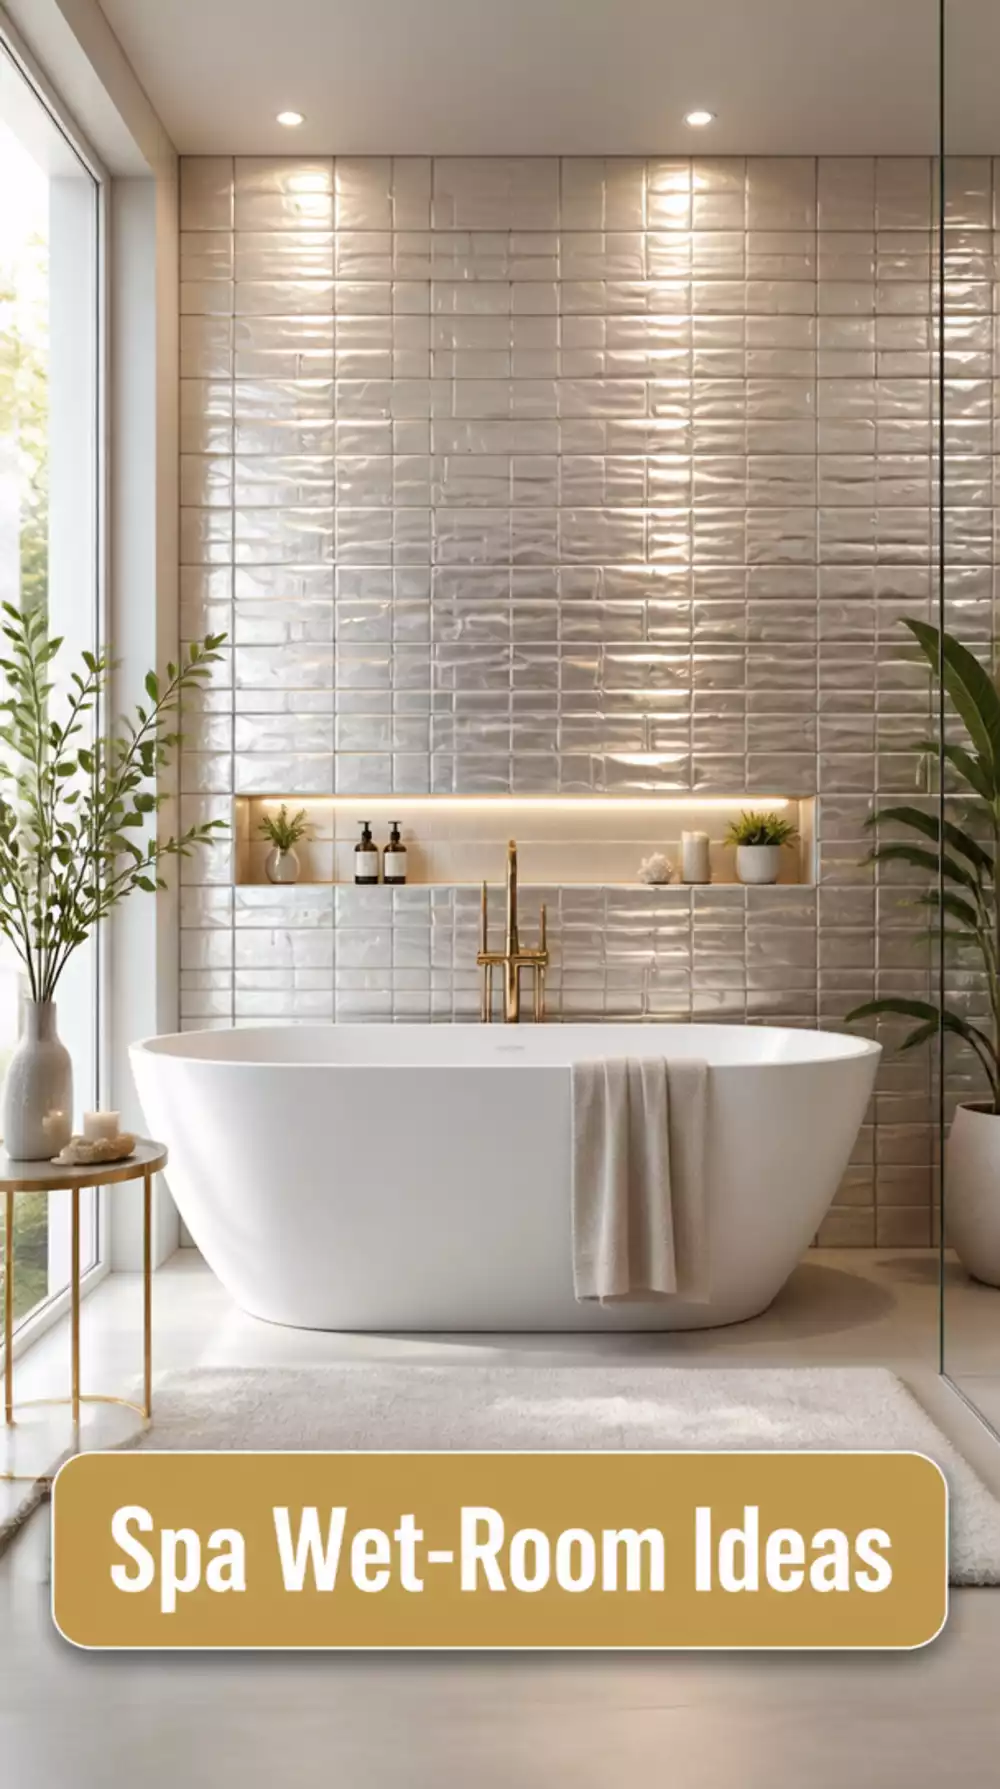
Transform your bathroom into a luxurious retreat with easy upgrades.
Why Feature Tile Panels Are a Game Changer: Peel-and-stick feature tile panels can effortlessly transform a basic bathroom into a stunning spa-like retreat. They provide a high-end look without the hefty price tag, with moisture-resistant options ensuring durability in humid environments. The installation is a breeze—simply peel, stick, and enjoy the instant upgrade!
Where Most People Get Stuck: Many DIYers overlook the importance of aligning panels perfectly to avoid visible seams. It's crucial to take your time during installation, ensuring that each panel sits snugly against the next for a seamless appearance. A common mistake is rushing the process, which can lead to frustrating results.
- ★Choose a design that complements your existing bathroom decor.
- ★Consider using aluminum peel-and-stick backsplash tile panels for a quick and chic upgrade.
- ★Take care in measuring and cutting for a perfect fit around fixtures.
⭐ Best Tile Panels for Bathroom
Self Adhesive Wall Tiles for Bathroom
★★★★☆
Our Score: 4.0/5
These thick backsplash tiles are perfect for wet areas, providing easy cleaning and a stylish look.
View on Amazon →✨ Editor's Pick
Aluminum Peel and Stick Backsplash Tile Panels
★★★★½
Our Score: 4.5/5
Instantly upgrade your space with these stylish panels that are easy to install and durable.
View on Amazon →Panel Wall Mirror with Gold Frame
★★★★☆
Our Score: 4.0/5
This versatile mirror adds elegance and complements your new tile panels beautifully.
View on Amazon →💡 Quick Tips:
- Pick a cohesive color palette: Choose colors for the panels that complement your existing decor.
- Measure before cutting: Accurate measurements ensure panels fit perfectly around fixtures.
- Allow for drying time: Let any adhesive set as per instructions for a secure and lasting bond.
Bathroom Waterproof Wallpaper Strip Behind the Vanity That Adds Pattern Without Any Tile Work
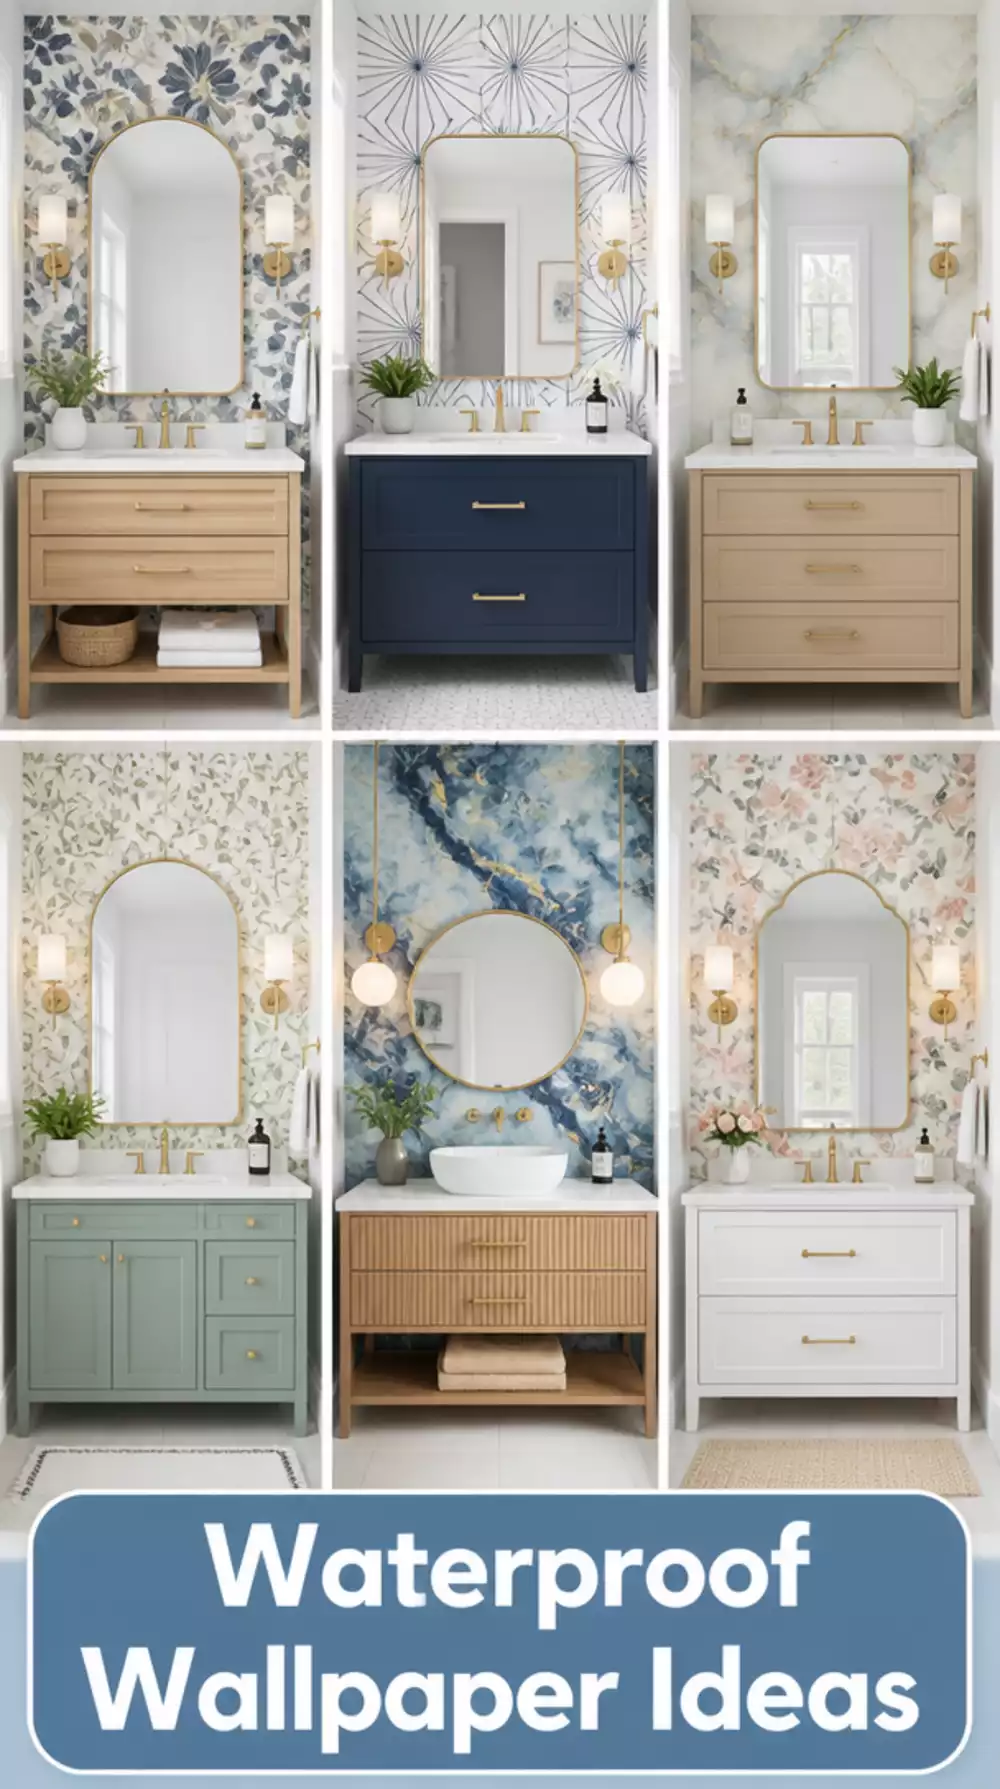
Transform your bathroom with stylish waterproof wallpaper options.
The Benefits of Bathroom Waterproof Wallpaper Strips: Waterproof wallpaper strips can introduce vibrant colors and patterns into your bathroom without the commitment of traditional tiles. Their ability to withstand moisture makes them perfect for this space, allowing for a fresh look that can easily be changed as your style evolves.
What People Rarely Consider is how wallpaper can serve as a temporary yet stylish alternative to permanent tiles. Many overlook that quality waterproof options can look just as sophisticated as tiled walls, but at a fraction of the cost. One homeowner transformed their vanity area with a chic marble-patterned strip, and the results were stunningly modern.
- ★Choose patterns that complement your existing decor for a cohesive look.
- ★Use a level to ensure your wallpaper is straight for a polished finish.
- ★Avoid using textured wallpaper in high-moisture areas to prevent peeling.
⭐ Recommended Waterproof Wallpaper for Bathrooms
Peel and Stick Herringbone Wallpaper
★★★★☆
Our Score: 4.0/5
Transform your space effortlessly with this elegant wallpaper that adds modern style.
View on Amazon →Fabric Peel and Stick Wallpaper with Texture
★★★★☆
Our Score: 4.0/5
Elevate your decor with this textured waterproof wallpaper, perfect for cozy aesthetics.
View on Amazon →✨ Editor's Pick
Glossy Marble Contact Paper for Countertops
★★★★½
Our Score: 4.5/5
Enhance your bathroom with this stylish contact paper that offers a modern marble look.
View on Amazon →💡 Quick Tips:
- Choose a waterproof paper: Ensure the wallpaper is specifically designed to handle moisture in bathrooms.
- Measure your space: Accurately measure the area behind your vanity before purchasing to avoid waste.
- Consider patterns wisely: Pick designs that reflect your style while harmonizing with existing bathroom elements.
Why Painting Bathroom Floor Tiles in a Contrasting Dark Colour Is the Most Dramatic Budget Fix
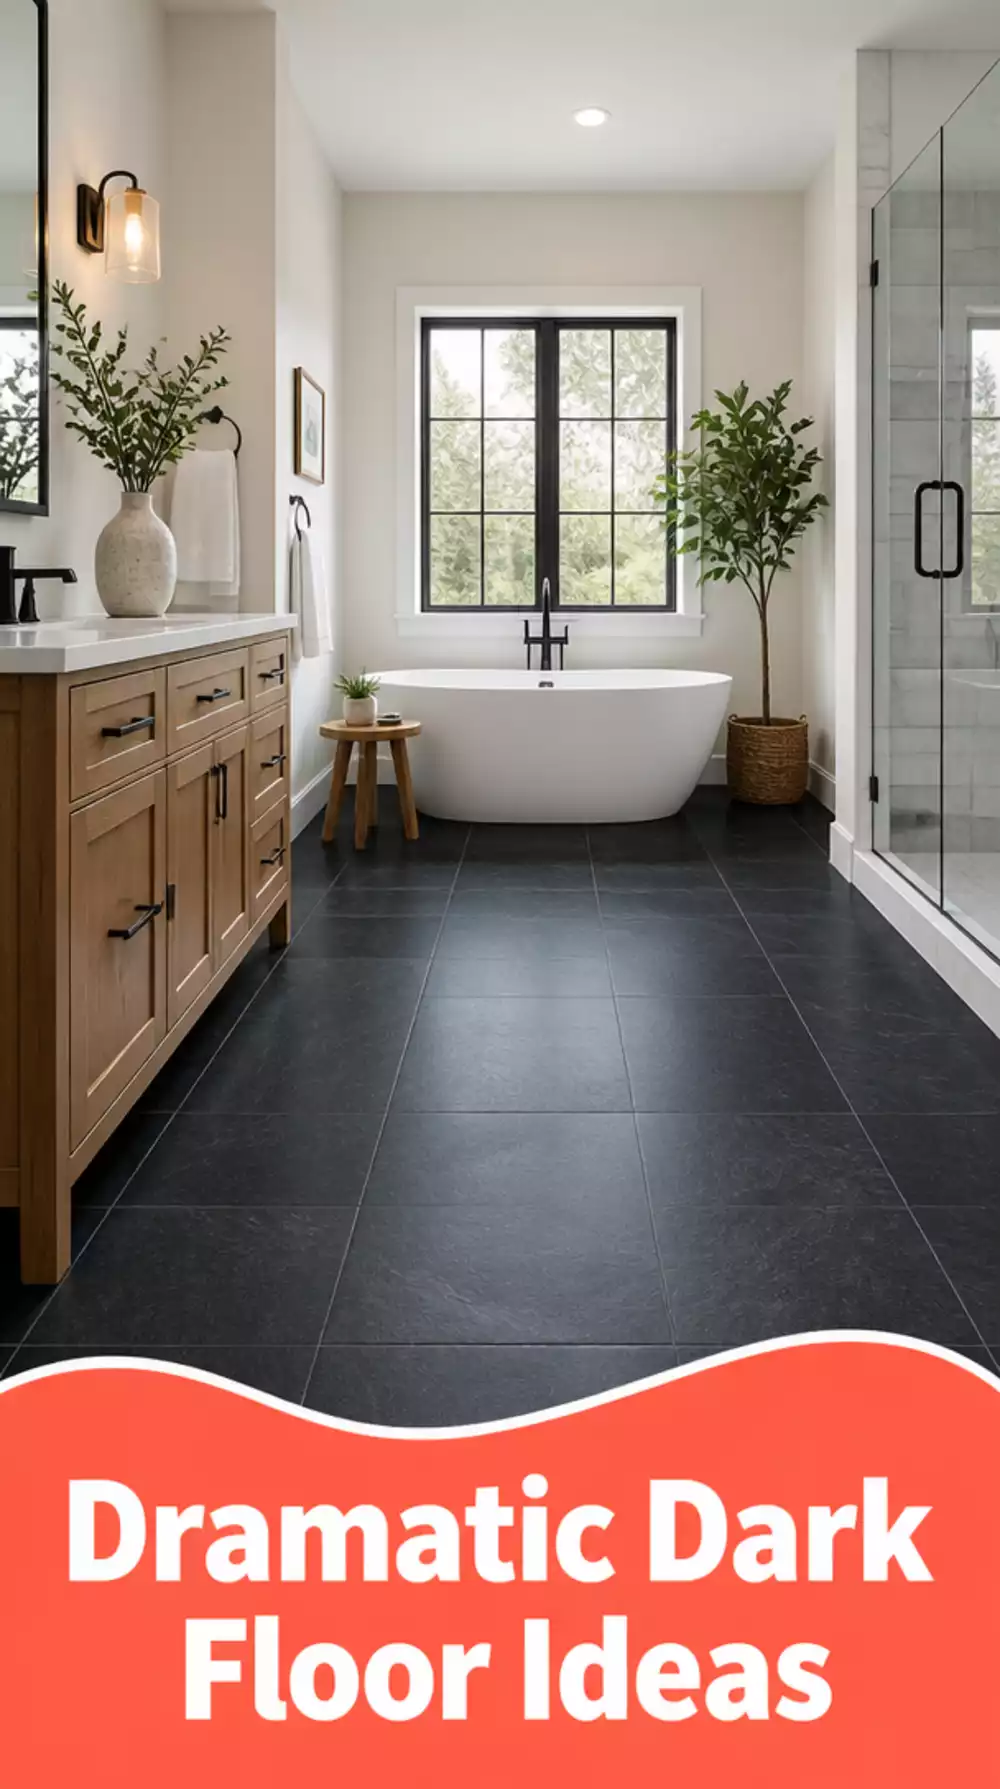
Transform your bathroom with a dramatic floor color change.
The Impact of Dark Floor Tile Painting: A bold color choice can completely redefine a bathroom's appearance, evoking a sense of luxury and grounding. Dark colors create a striking contrast against lighter walls and fixtures, making the space feel more cohesive and modern.
What People Rarely Consider is the impact of paint finish; using the wrong one can lead to peeling or chipping over time. Many DIYers focus solely on color, neglecting to choose a durable, moisture-resistant finish which is crucial for a bathroom floor. For example, opting for a satin or semi-gloss finish can add to the durability and sheen of your painted tiles.
- ★Choose high-quality floor paint designed for tile surfaces to ensure longevity.
- ★Consider using a low-lustre enamel paint for a durable and attractive finish.
- ★Ensure proper surface preparation with cleaning and priming to prevent issues later.
⭐ Our Picks for Tile Painting Supplies
✨ Editor's Pick
Tile Painting Stencil for DIY Projects
★★★★☆
Our Score: 4.0/5
This reusable stencil is perfect for creating unique tile designs in your bathroom.
View on Amazon →Colorfast Fabric Paint in Navy Blue
★★★★☆
Our Score: 4.0/5
Ideal for various projects, this high-quality paint ensures vibrant results on fabric.
View on Amazon →Interior Paint with One Coat Coverage
★★★★☆
Our Score: 4.0/5
This exceptional paint offers gorgeous coverage, ensuring a beautiful finish for any tile.
View on Amazon →💡 Key Steps to Follow:
- Choose a deep, rich color: A dark shade can make your space feel cozy and upscale.
- Prepare the surface properly: Clean and prime your tiles for the best paint adhesion.
- Test a small area first: Ensure the paint finish and color work well before committing to the whole floor.
You now have seven practical ways to transform your bathroom without breaking the bank. Start with what feels manageable, and allow your creativity to guide you towards a more refreshed space.
Embracing these budget-friendly ideas means your bathroom can evolve into a sanctuary that reflects your personal style. Every thoughtful adjustment contributes to a welcoming environment, so take that first step today.


